Step 1: Open Any Public Creator Profile
Open Google Chrome and navigate to any public creator profile on Instagram or channel on YouTube.
For example, navigate to an Instagram creator like https://instagram.com/creator_handle/ or a YouTube channel like https://youtube.com/@channel_name.
Requirement: The profile must be public. Private Instagram accounts hide post feeds from non-approved visitors, preventing client-side data inspection.
Step 2: Switch to the Optimal Content Surface
Select the dedicated video feed tab for the most accurate metric collection.
- On Instagram: Switch to the /reels/ tab (e.g.
instagram.com/creator/reels/). Instagram displays public play/view counts directly on Reel video cards, whereas regular feed photos frequently hide view counts.
- On YouTube: Switch to the Videos tab for long-form content or the Shorts tab for vertical short-form video catalogs.
Step 3: Open Rank Kiwi
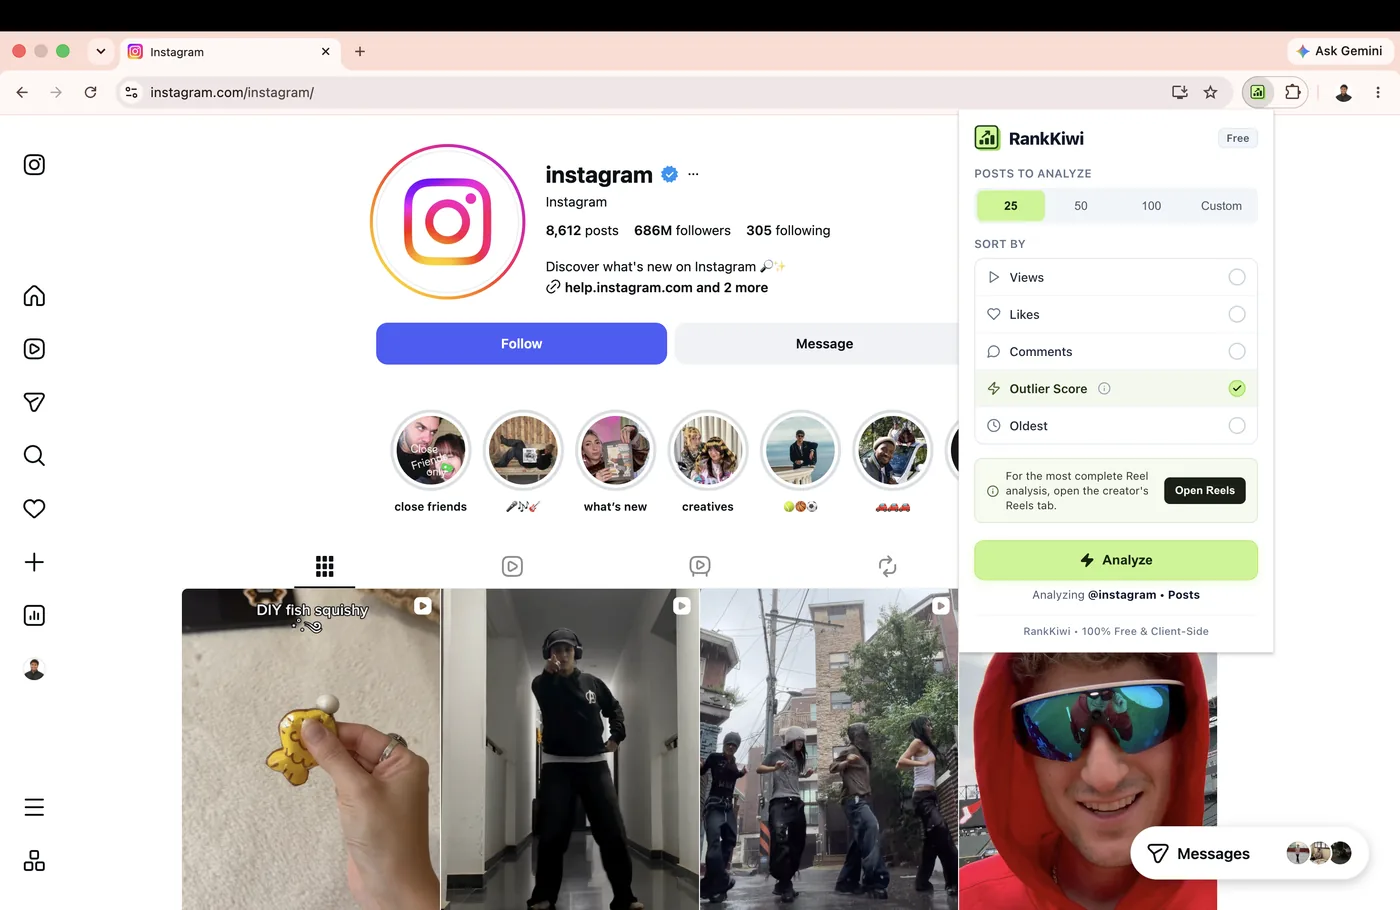
Click the pinned kiwi icon in your Chrome toolbar or the on-page analysis button.
Rank Kiwi verifies that you are on an active, supported creator URL and renders the analysis configuration panel.
Step 4: Select Analysis Sample Depth
Choose how many recent posts Rank Kiwi should inspect to compute the creator's median benchmark.
| Sample Option |
Recommended Use Case |
Average Scan Duration |
| 25 Posts |
Fast spot checks; recently published hook trends |
~2 to 4 seconds |
| 50 Posts |
Recommended default; balanced and stable median |
~5 to 8 seconds |
| 100 Posts |
Comprehensive deep catalog study across seasons |
~10 to 15 seconds |
Step 5: Run Collection & Benchmark Calculation
Click the green Analyze button to begin local collection.
Rank Kiwi scans the visible posts in your browser, extracts public engagement metrics (views, likes, comments, publication dates), and computes the non-skewed Median Baseline for that creator.
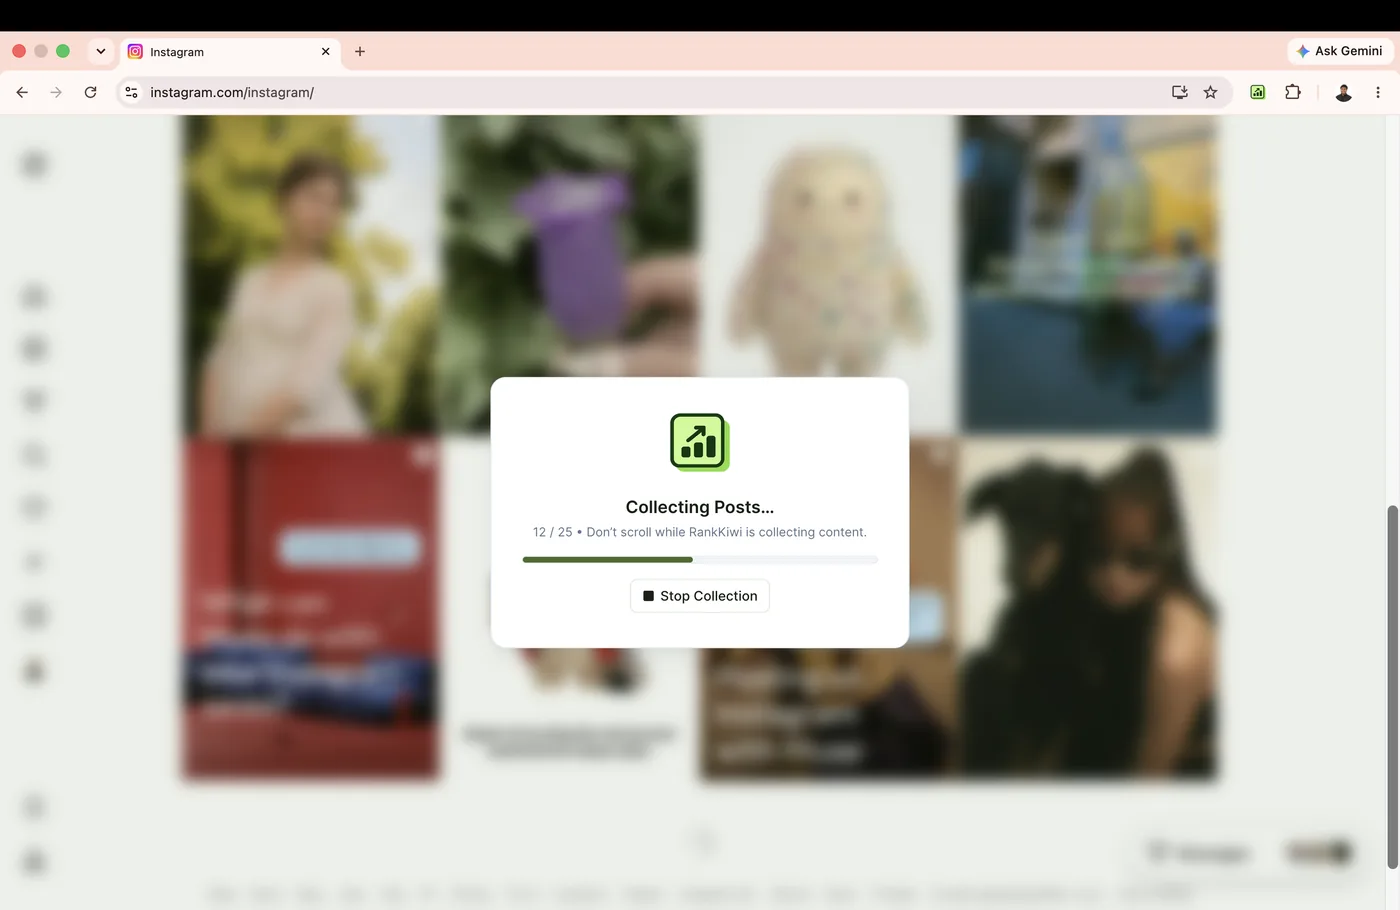
During collection, you will see a live progress counter. If you need to stop early, you can safely cancel the scan.
Step 6: Sort by Outlier Score
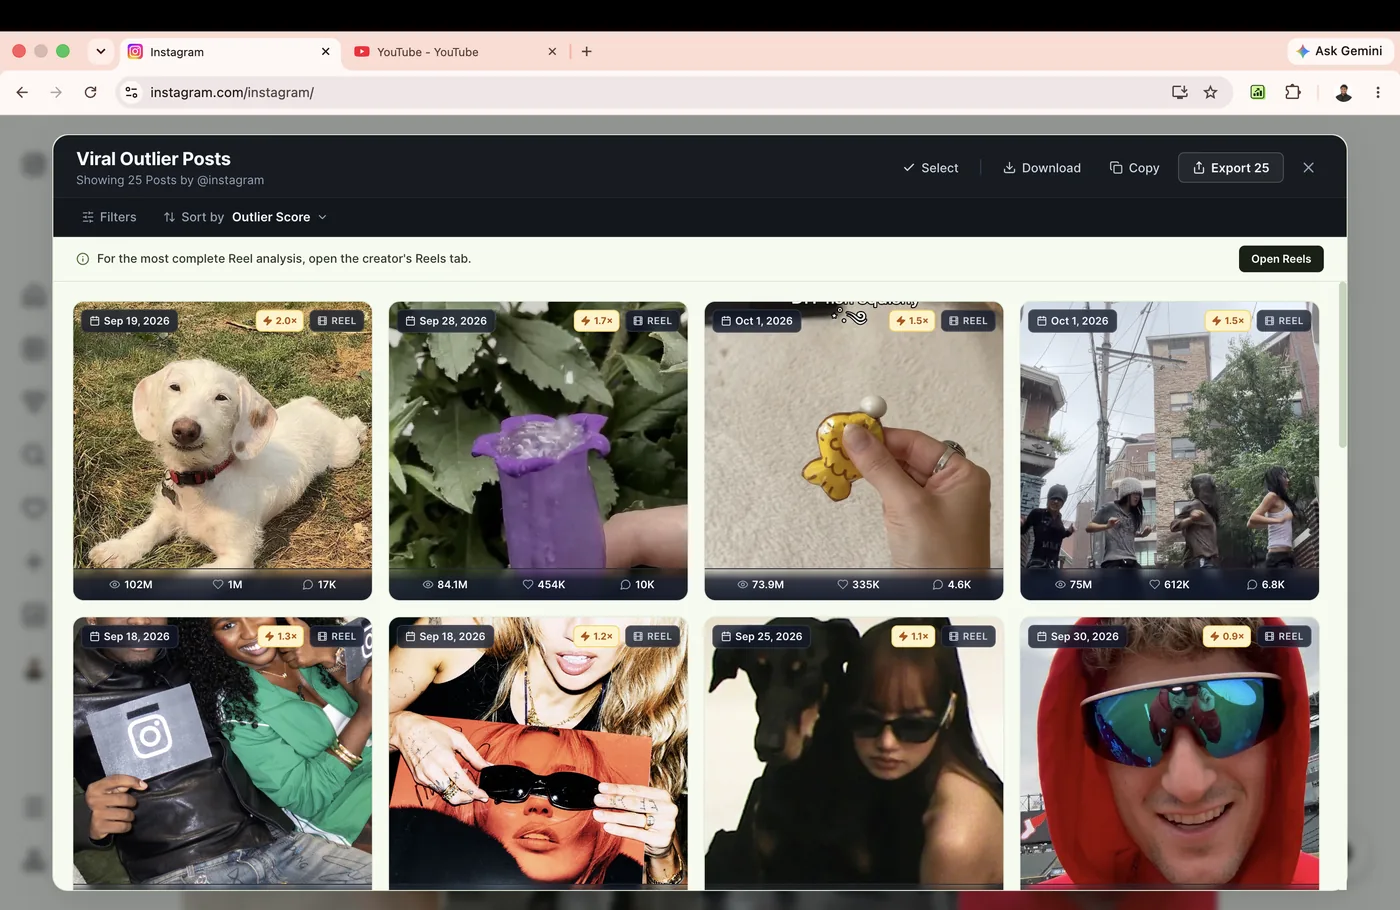
Once analysis finishes, Rank Kiwi displays the results grid with Outlier Scores computed for every post.
By default, posts are ordered by Outlier Score (High to Low):
1.0× — Typical Performance: Post performed at the creator's exact median.2.0× to 3.5× — Strong Performer: Earned double to triple typical creator views.4.0× to 10.0×+ — Breakout Outlier: A statistical anomaly that massively outperformed the baseline.
Step 7: Inspect Content Details Modal
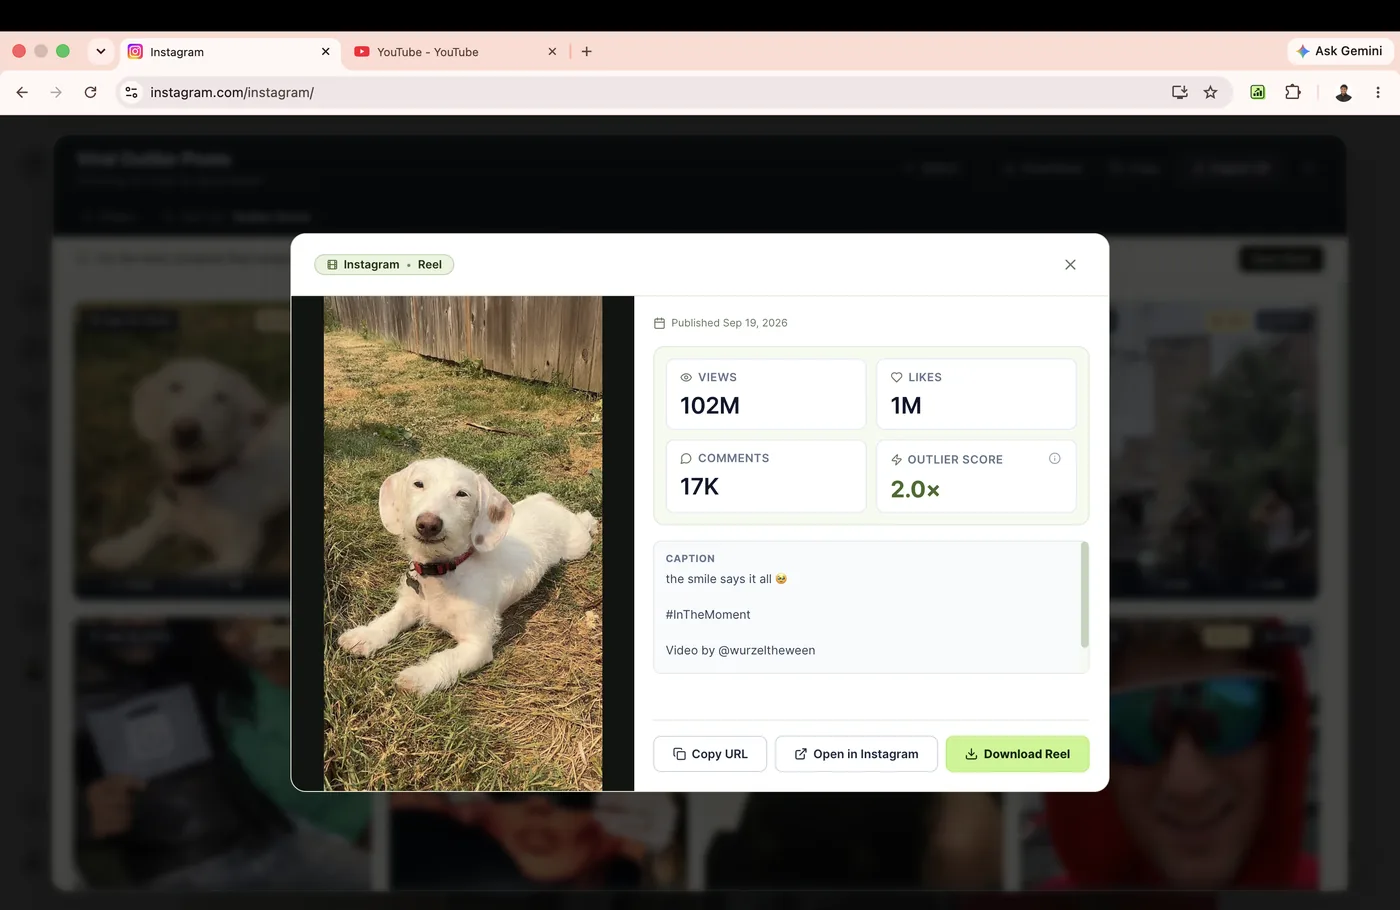
Click on any outlier card in the grid to open the Content Details inspector.
The detail view reveals:
- Full Caption & Hook Text: Study copywriting structures, opening questions, and calls-to-action.
- Metrics Breakdown: Exact view counts, like ratios, comment volumes, and date of publication.
- Direct Post Link: Jump straight to the original content URL.
Step 8: Export Your Research
Export your findings directly to your preferred research tool.
Click the Export dropdown in the top bar to select:
- CSV Download: Clean, structured spreadsheet file compatible with Google Sheets, Excel, and Airtable.
- Copy to Clipboard: Instantly paste tab-separated rows into an active spreadsheet.
- JSON Download: Formatted structured payload for data analysts and automated pipelines.
Congratulations! You have completed your first Rank Kiwi creator research analysis. You now have a proven workflow to isolate breakout content without manual spreadsheet scraping.